The Moon's Parallax
Additional Tips for Photographing and for Evaluating the Pictures
Interpolation
k.jpg) |
 |
| 21.50 UT |
22.39 UT |
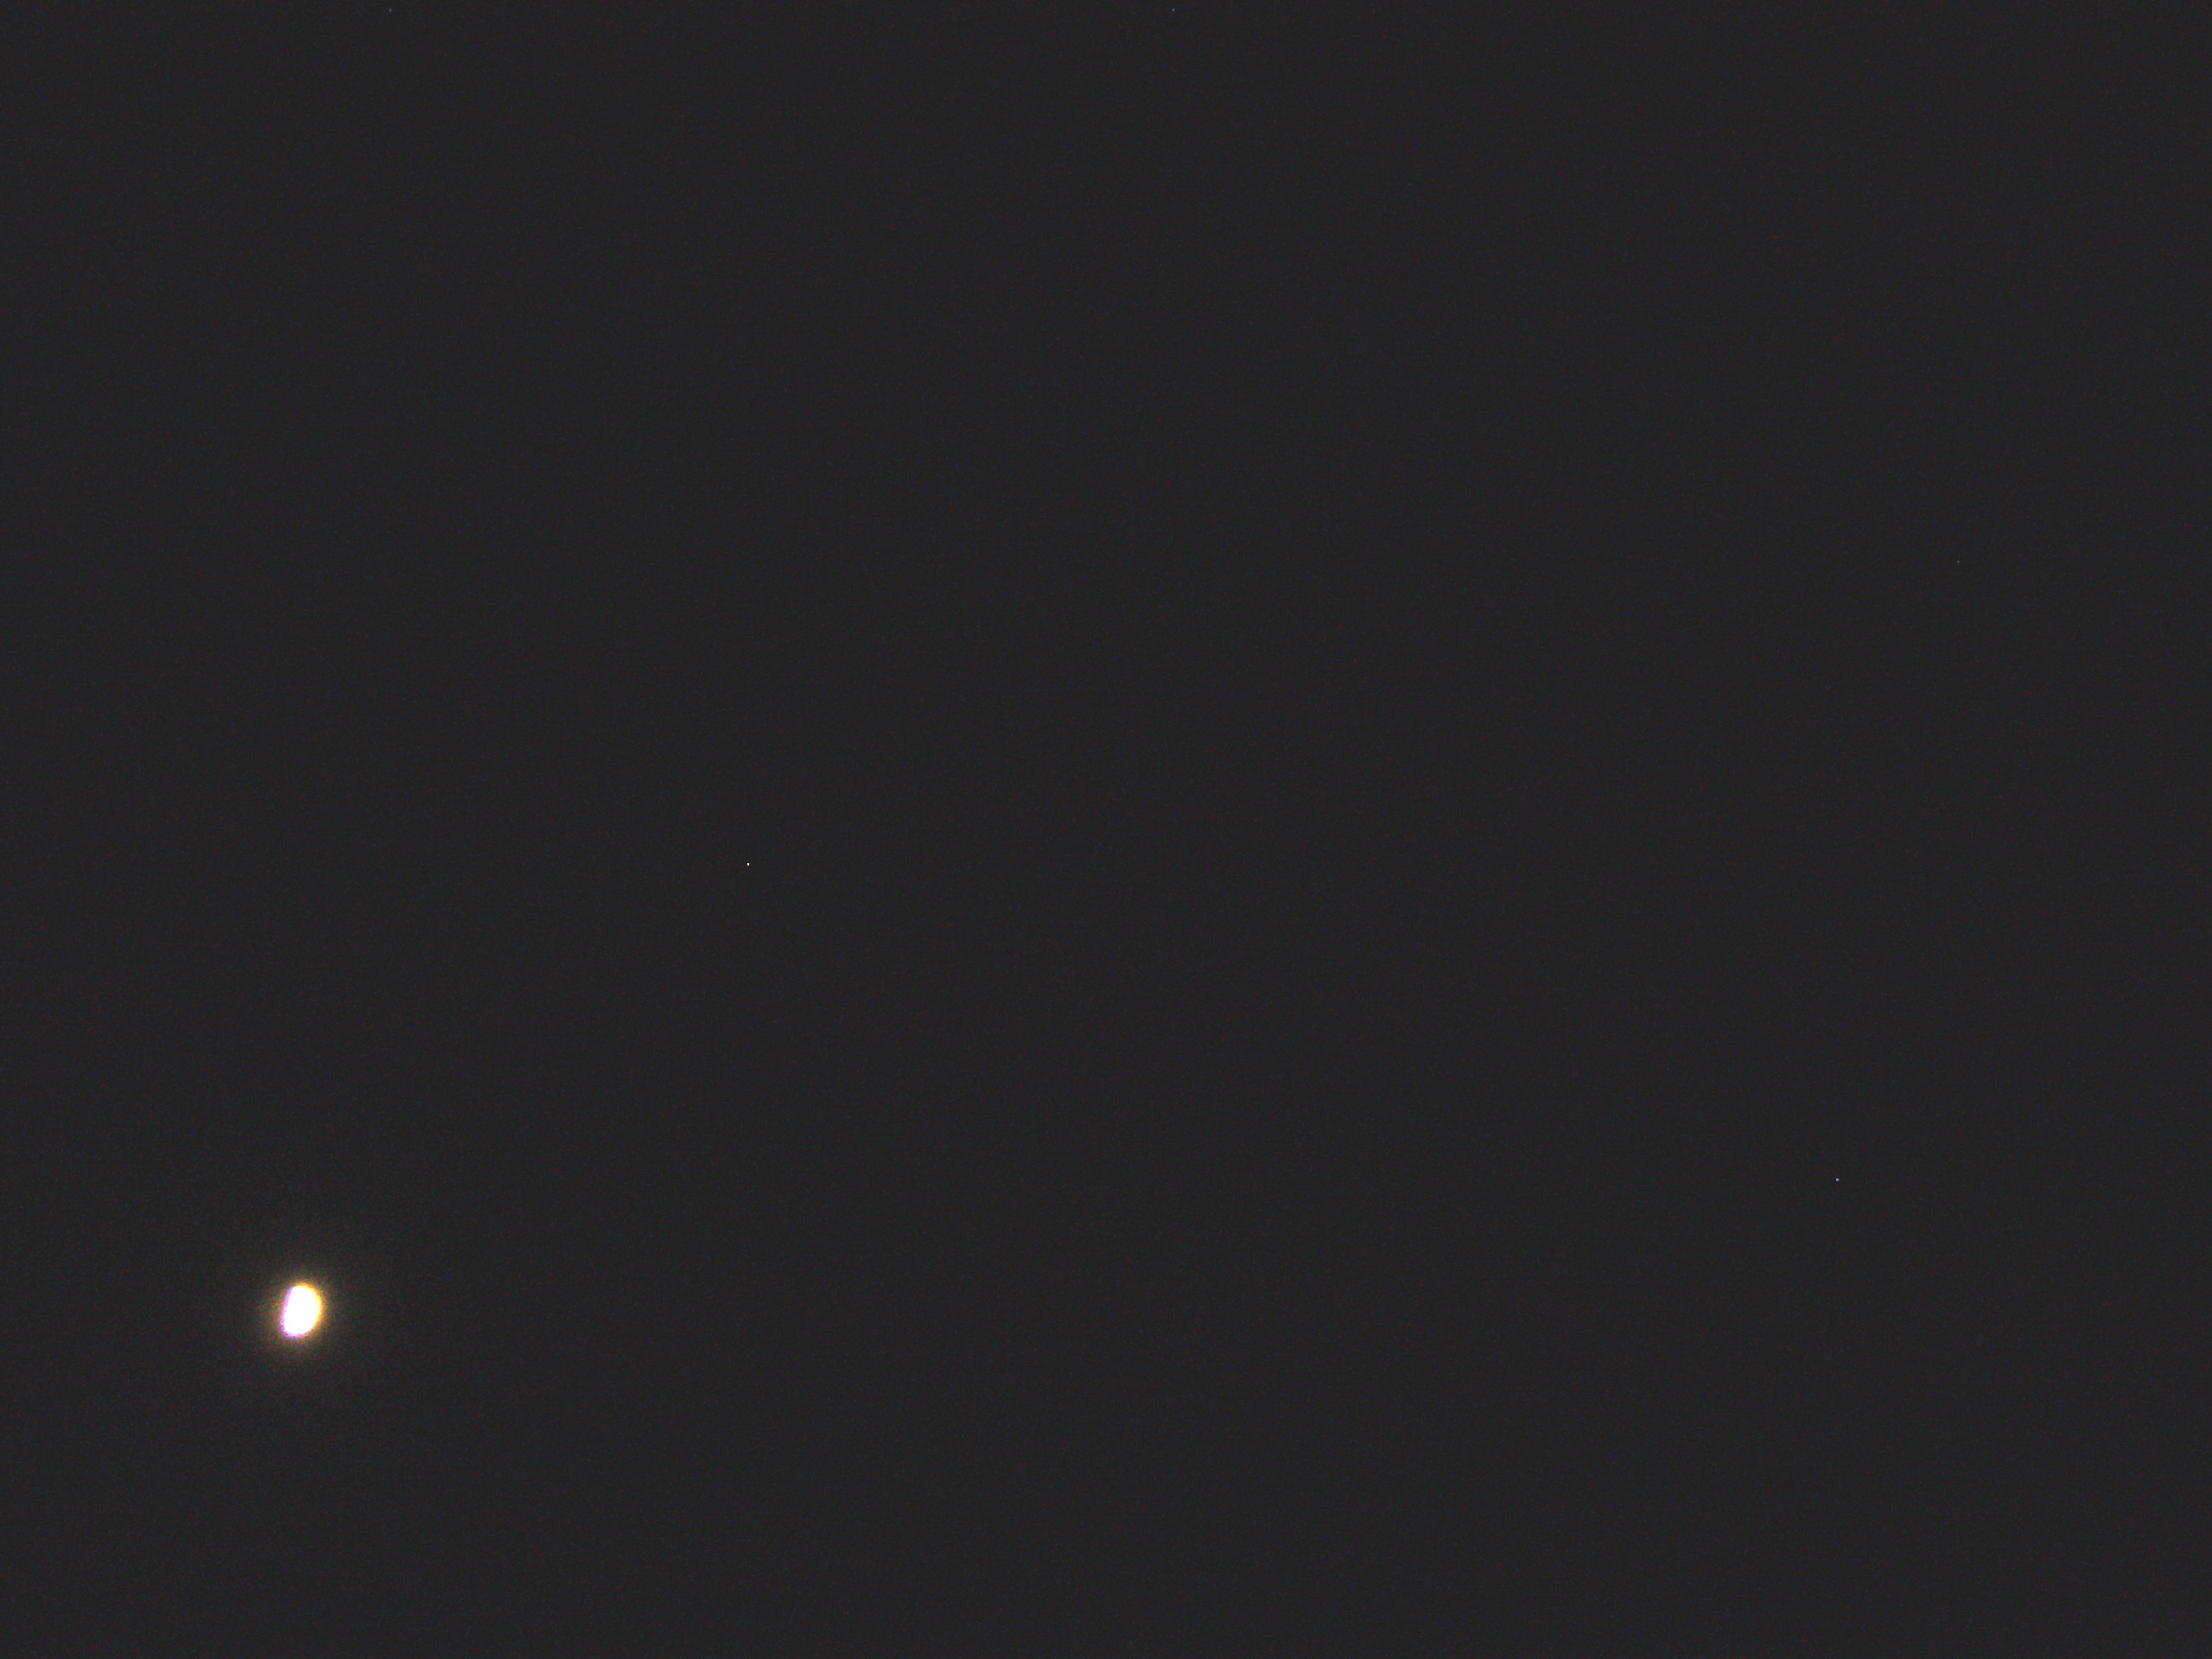
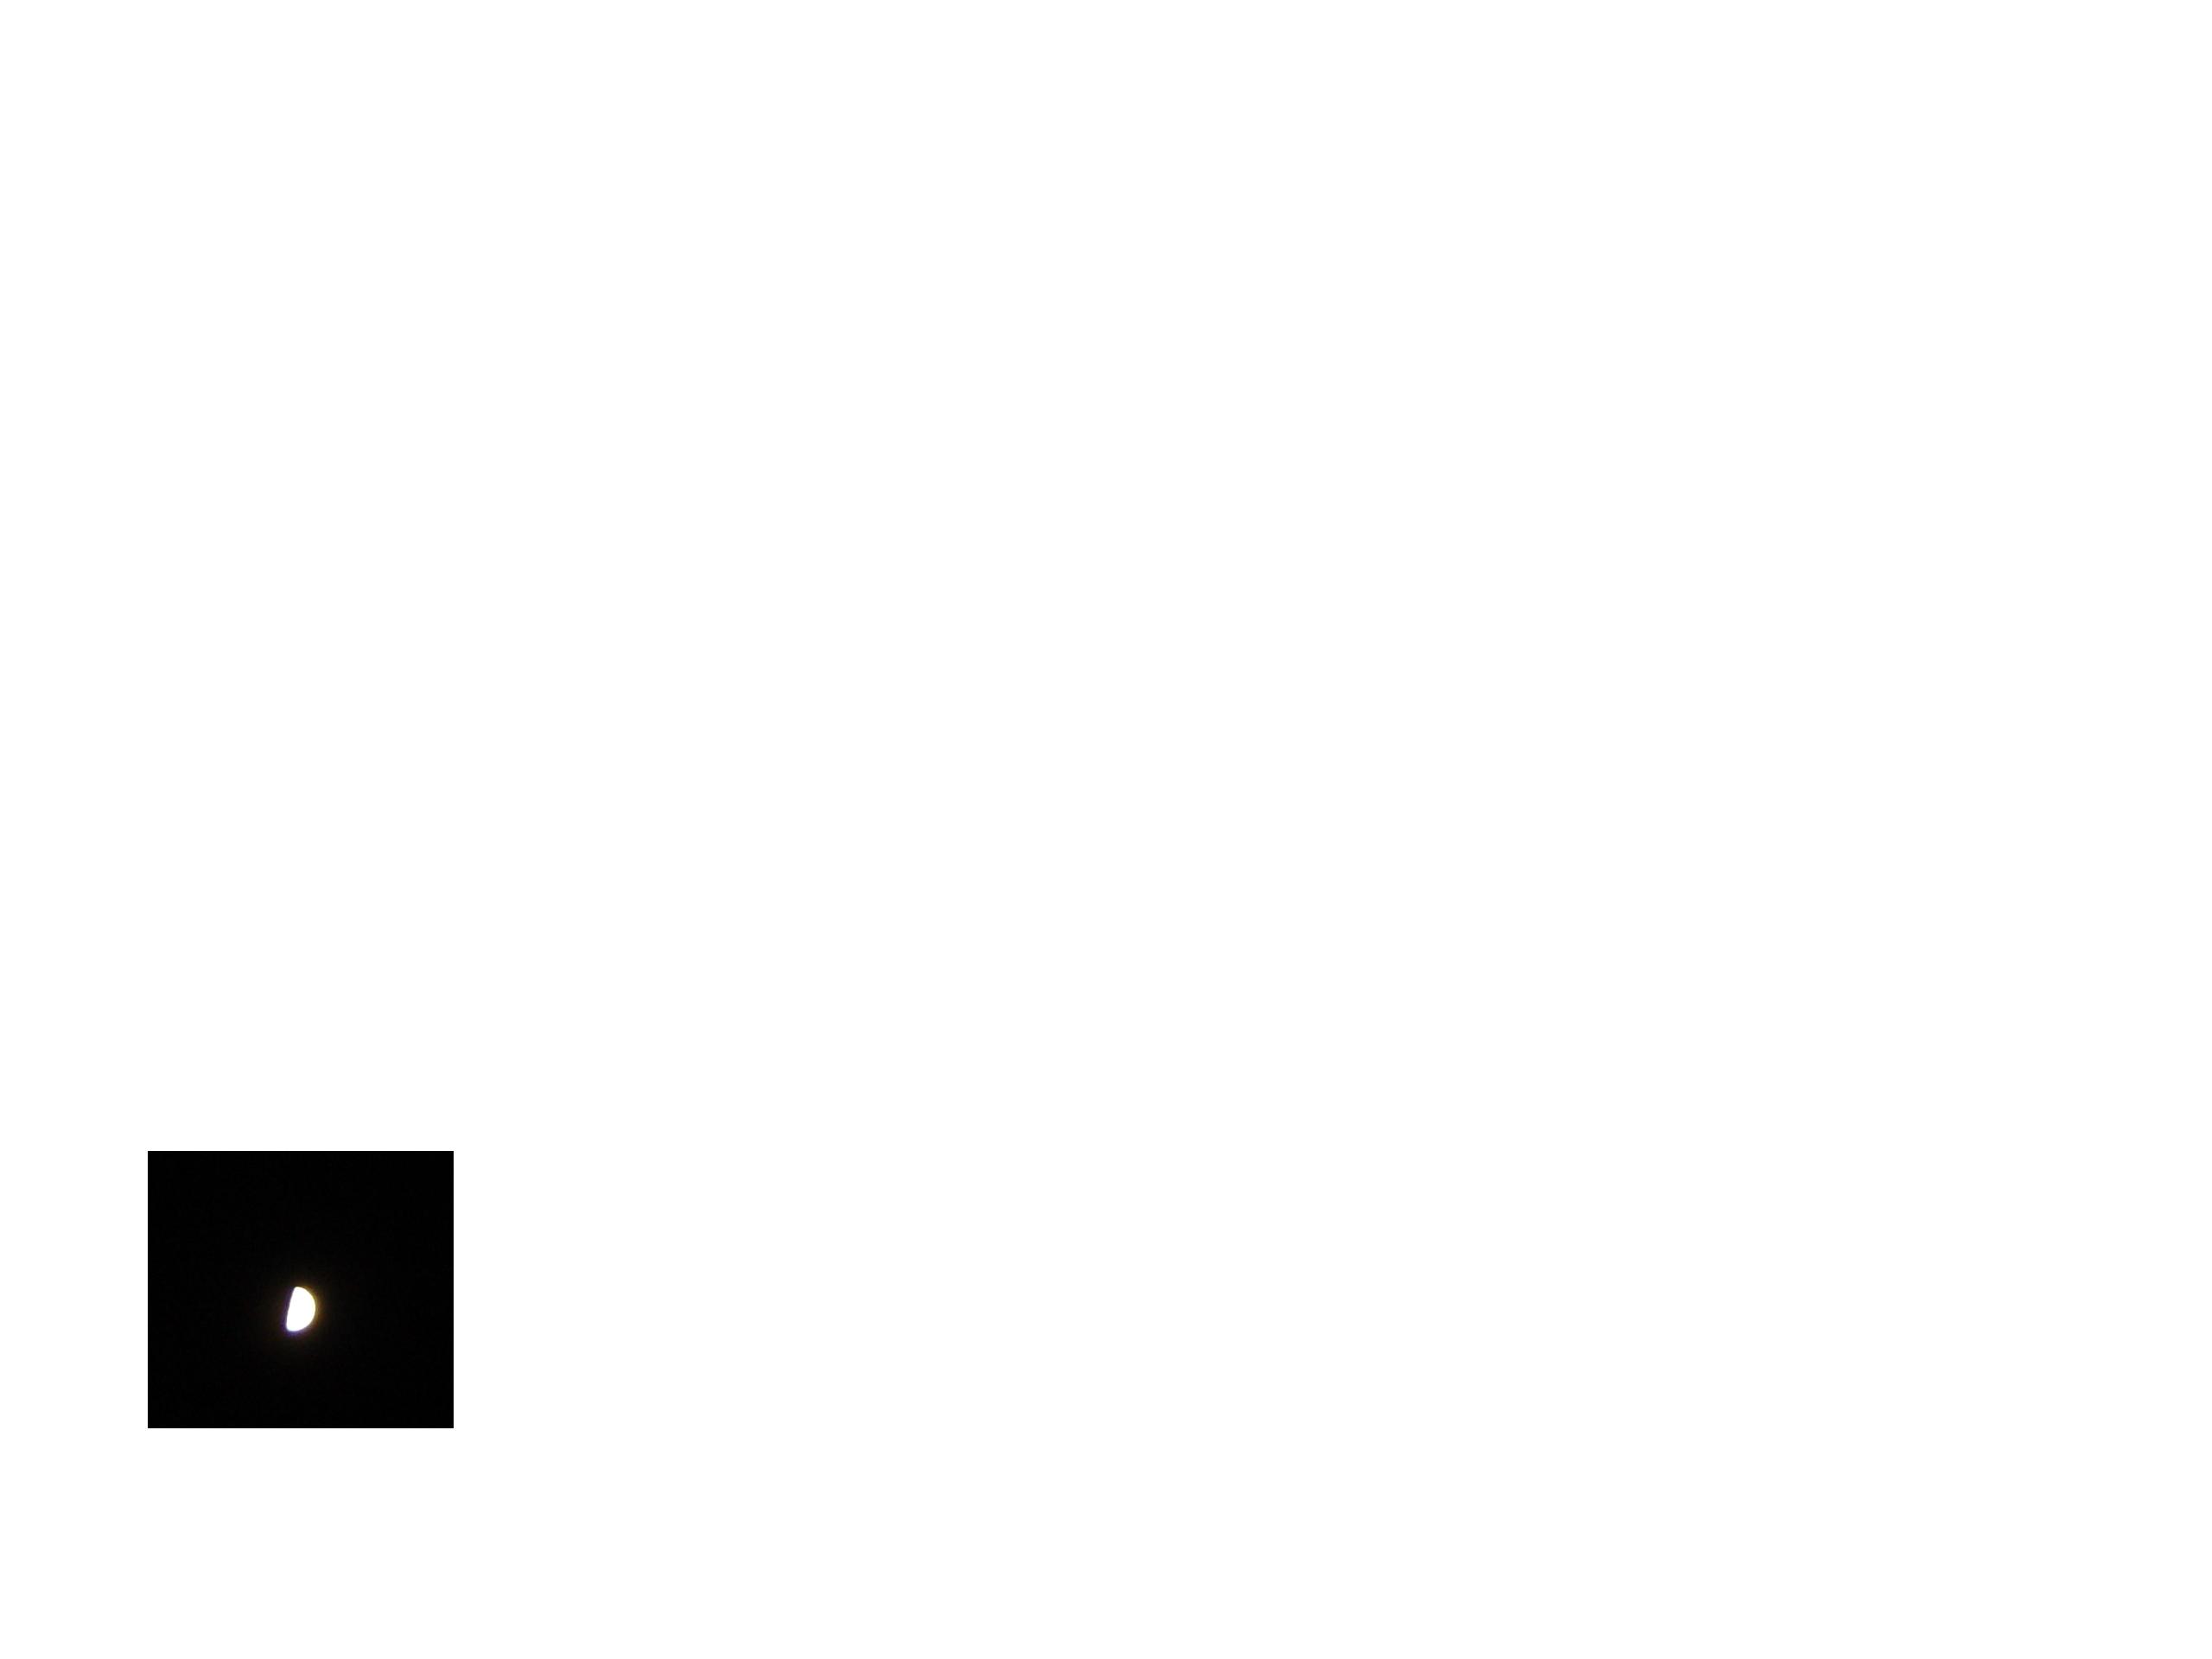
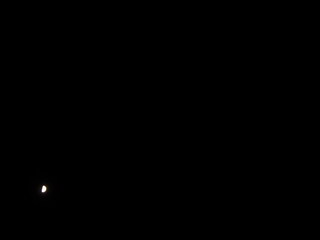
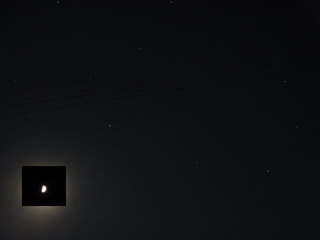
If the objects of interest are covered by clouds at the proposed time but visible before and after that time it will be possible to interpolate. Example: The evaluation of the two pictures below (with evalmoonpicts.exe) yielded the following positions of the moon:
| Time | αmoon | δmoon | Δt | Δα | Δδ
|
| 21:50:10 | 10h26m20s | 5°39'21.4" |
| 22:39:02 | 10h27m49.5s | 5°28'32.8" | 2932s | +89.5s | -10'48.6" |
Because 22.00 UT is 590s later than 21:50:10 the moon's displacement to its position of interest can be calculated as follows:
Δα22:00=Δα/Δt*590s=18s
Δδ22:00=Δδ/Δt*590s=-2'10.5"
Therefore, the position of interest is
α22:00=α21:50+Δα22:00=10h26m38s
δ22:00=δ21:50+Δδ22:00=5°30'43.3"
With a little calculation, this position can be converted to pixel coordinates and marked in the 22:50 UT picture (with scale 1.18'/pixel):
The moon's pixel positon at 22:00 UT in the 21:50 UT picture: x = 1214, y = 1263
This position has been already marked in the 22:50 picture above (visible in the large scale picture, only).
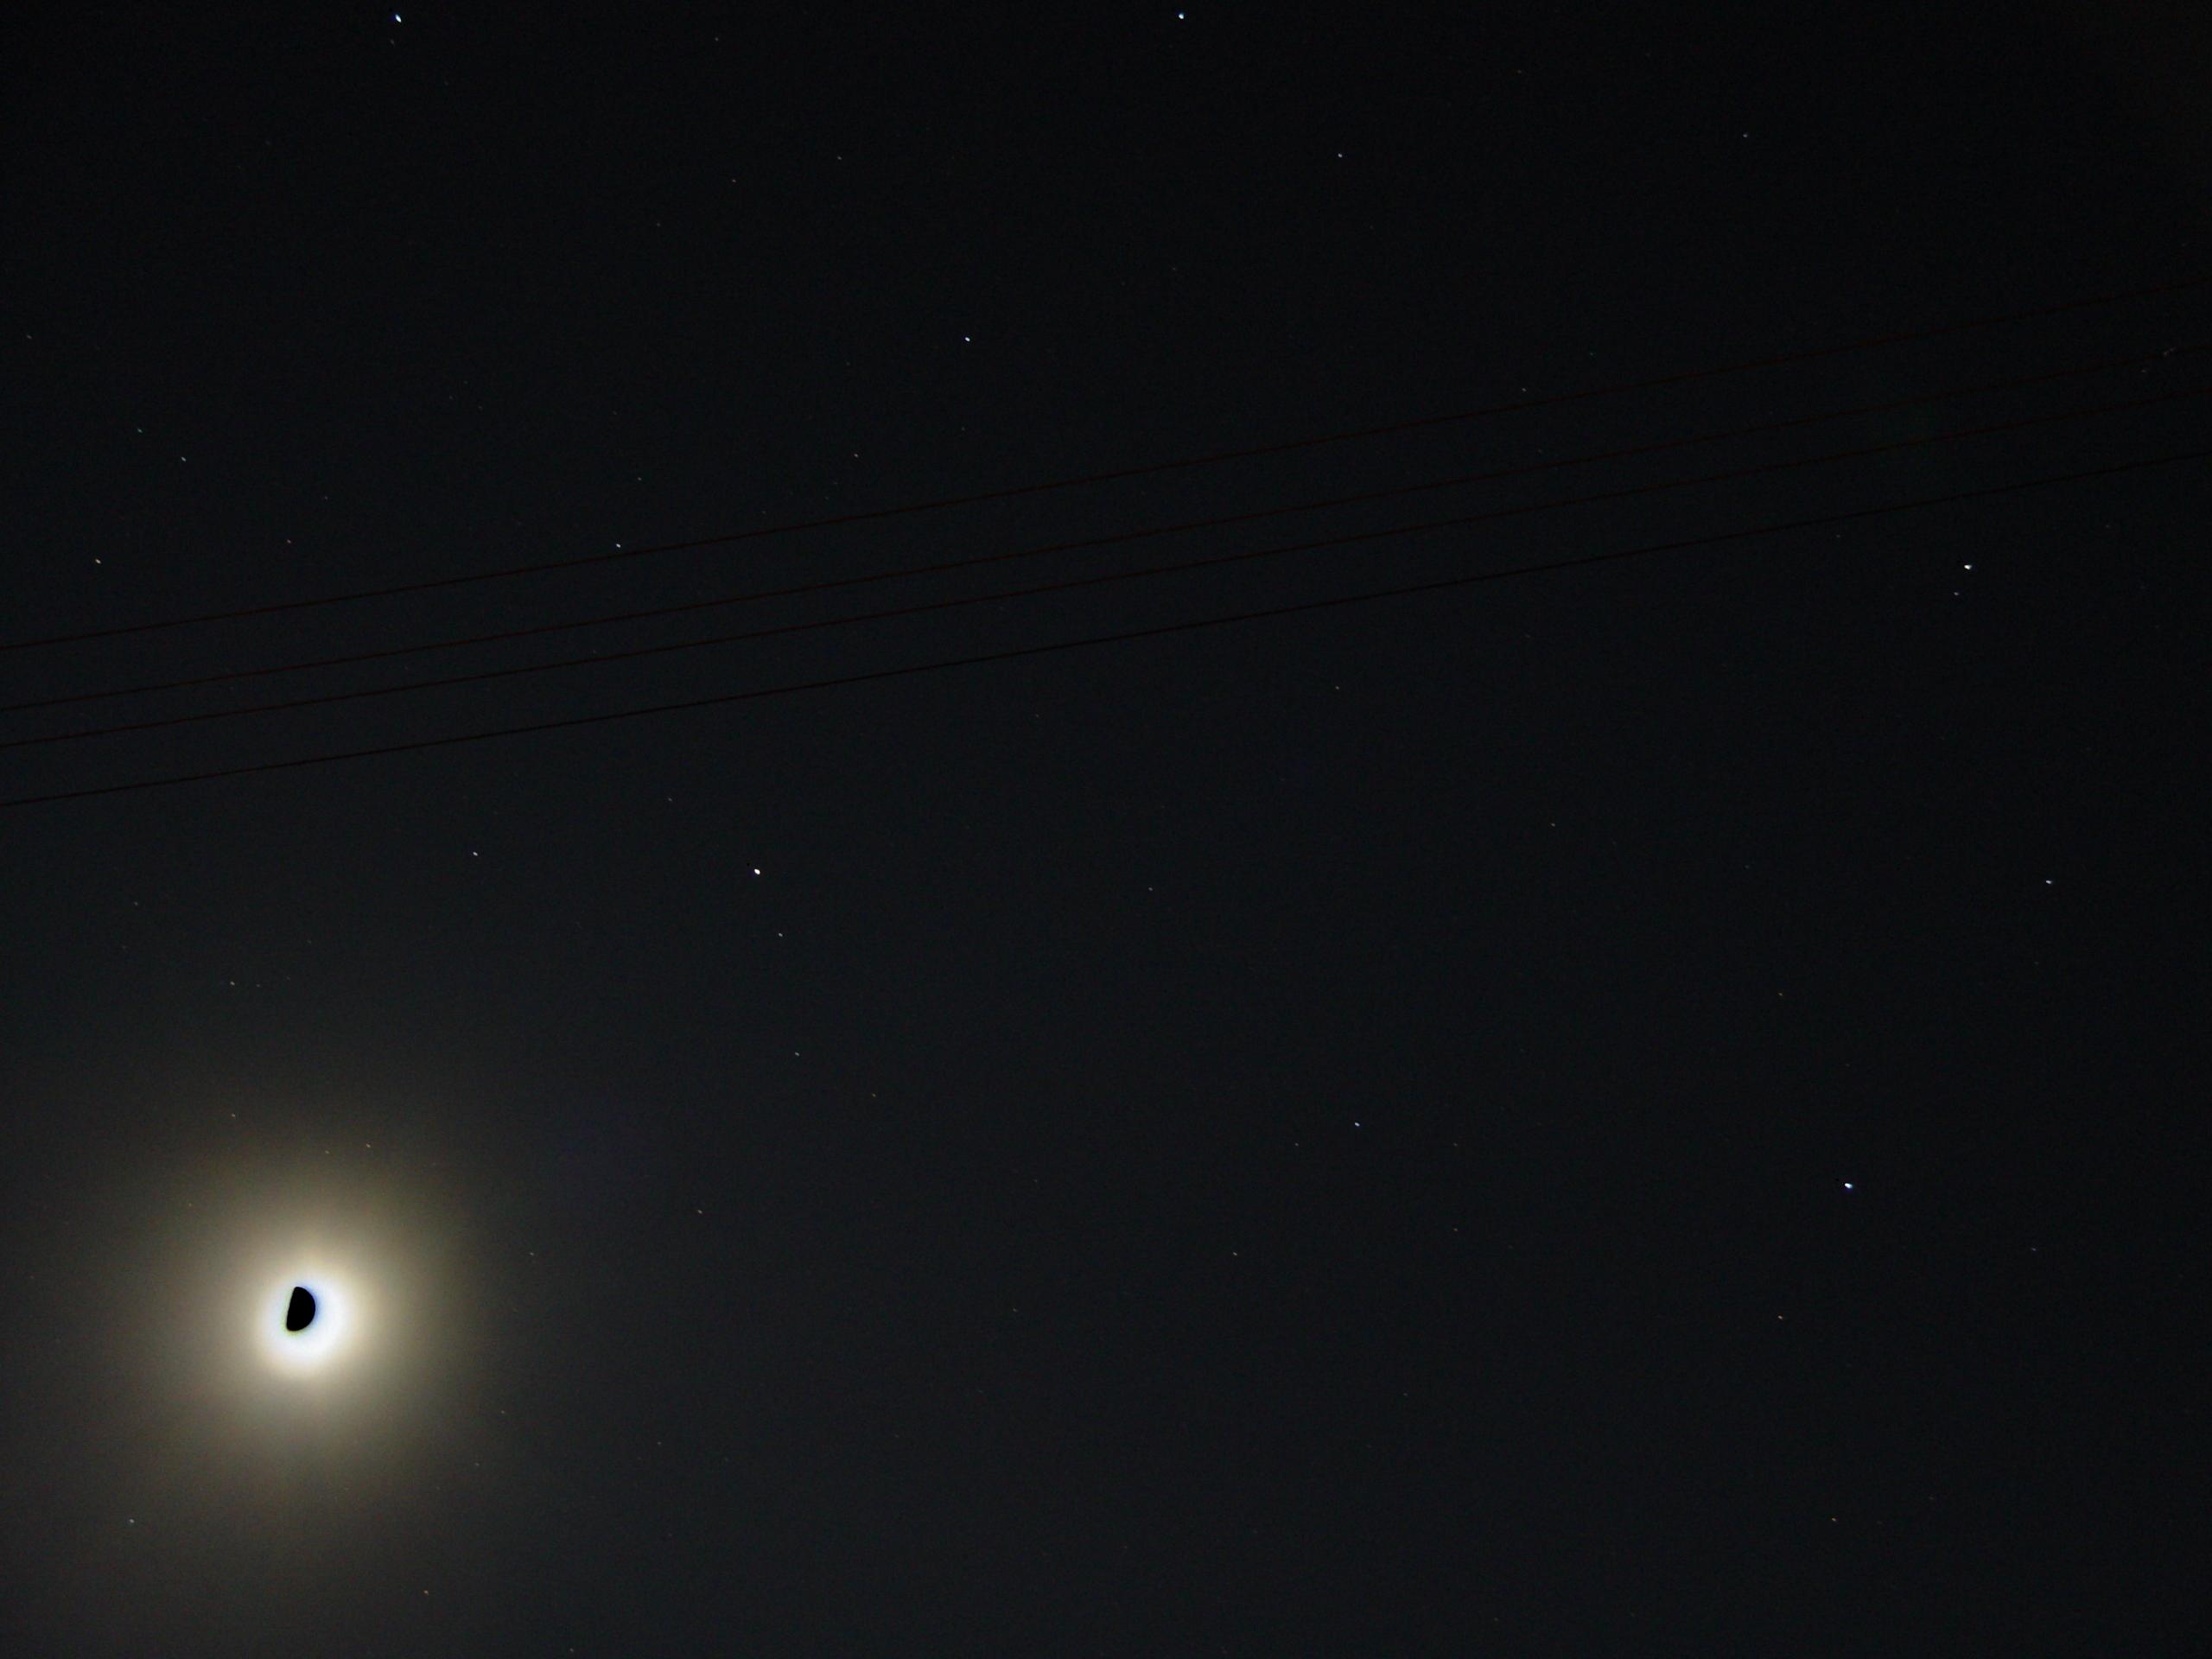
Photographing with automaticly adjusted exposure time
If you point directly to the moon with your camera, the exposure time will normally be too short to show the objects of your reference system. Most often, even contast magnification on the computer will give no satisfying results.
 |
 |
 |
| 1/13s exposured |
1/13s, with contrast magnification |
clipped 1/13s-picture |
If point to the sky background, the picture will show your reference system, but the moon will be overexposed so that an exact measurement of its position will be impossible. Even changing the contrast will give no satisfying results.
 |
 |
| 8s exposured |
8s, with contrast magnification |
One possibility to solve this problem is the following procedure (thanks to K. Völkel):
- If possible choose manual focussing mode and focus to infinity.
- Point directly to the moon, keep the exposure time (by keeping the shutter button half-pressed) and then turn the camera to the designated sky region.
- Lock your tripod.
- Expose one picture (if possible: three with slightly changing exposure times).
- Immediately after this, take again one picture (or three) by using the self timer. The direction of the camera must not be changed in between! Because the camera will now point to a quite dark section of the sky it will choose a much longer exposure time.
After having run this procedure you will two differently exposedn pictures showing exactly the same sky region. In order to see the exact position of the moon and the reference stars as well you can combine these pictures. There are (at least) two methods ofcombining them:
- Let an image processing program calculate the difference of the pictures.
- Remove nearly the whole sky within the shortly exposed picture besides the moon (in this way you will keep the moon's position in that picture). Let the program calculate the minimum of the two pictures.
The pictures below show the results of these two procedures. Both of them allow exaxt position measurements (unfortunately for the wrong time, in this case!).
May 31rst, 21.33 UT
 |
 |
| Difference of the 8s- and 1/13s-pictures |
Minimum of the 8s- and (clipped) 1/13s-pictures |


 Udo Backhaus

last change: last update: 2020-03-03
.jpg)